Dr.Tuba Official
Replacement Bladders Tips & Tricks

TIPS & TRICKS

TIPS

Kite bladder change can be a tricky job and you may ruin good experience, if you are not careful enough and you do some "stupid" mistake during the process. Some issues are quite tricky to find and you may notice them only when it is too late...

All these issues means warranty void, so we prepared some tips & tricks for you on how to:

- re-install the bladders as easy as possible

- avoid most common mistakes you can do to your bladders

Stacked Kites

DISCLAIMER

Please note that this is not an official manual and may not prevent all the issues you may encounter during installation of the bladders. There are many ways to install the kite bladders, this article only shows you how we are doing it, and we think are doing it very well, as we barelly do any blowouts per season (and that is very very very very little). Please also forgive us on picture quality, they are taken with a smartphone from an actual bladder exchange process, to mimic real situation as much as possible. Feel free to ask us any additional questions you may have, or send us your experience, we will do upgrades to these Tips & Tricks regularly.

Now, let's start:

1. ALWAYS get help!

To install the bladder you will need another pair of hands. One person is pulling the rope, the other is putting the bladder into the kite.

2. DO NOT skip steps!

Always follow manual steps and do not skip them. It is also always good to double or triple check everything prior inflating your kite to working load.

3. Lay your kite / wing correctly

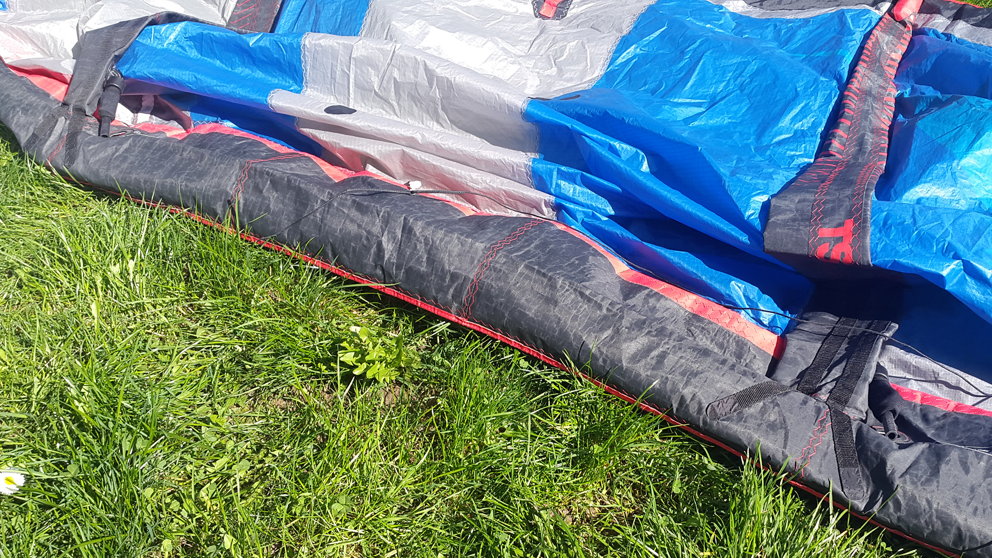
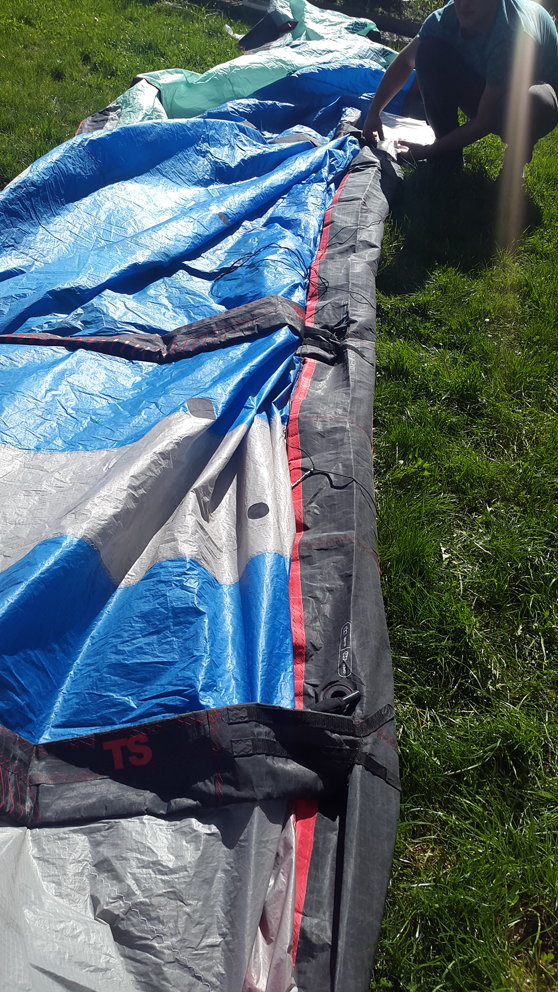
Prior installing the bladders you have to lay it out correctly on the ground, facing all valve holes UPWARDS. This is important for leading edge bladder, for struts it is important that strut valve position matches the (valve) side position (left/right side of kite).

Image

4. Stack the leading edge bladder

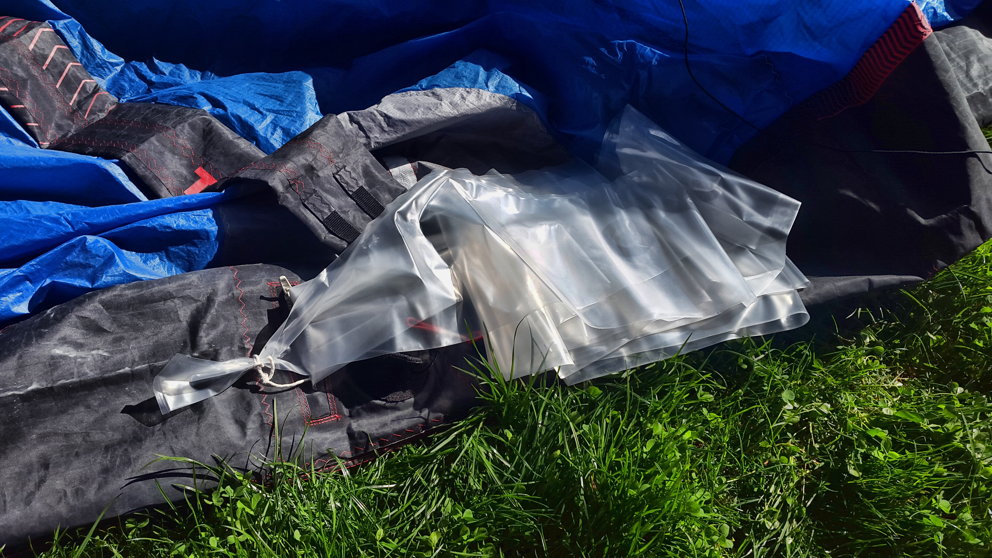
To ensure that the bladder will go into the kite correctly, stack the bladder (one half first) some decimetres away from the zipper, orientating the valves as the main tube. Correct layup will ensure, that you will have a correct starting insertion position of the bladder.

Stack bladder

5. Secure the kite, pull with constant tension

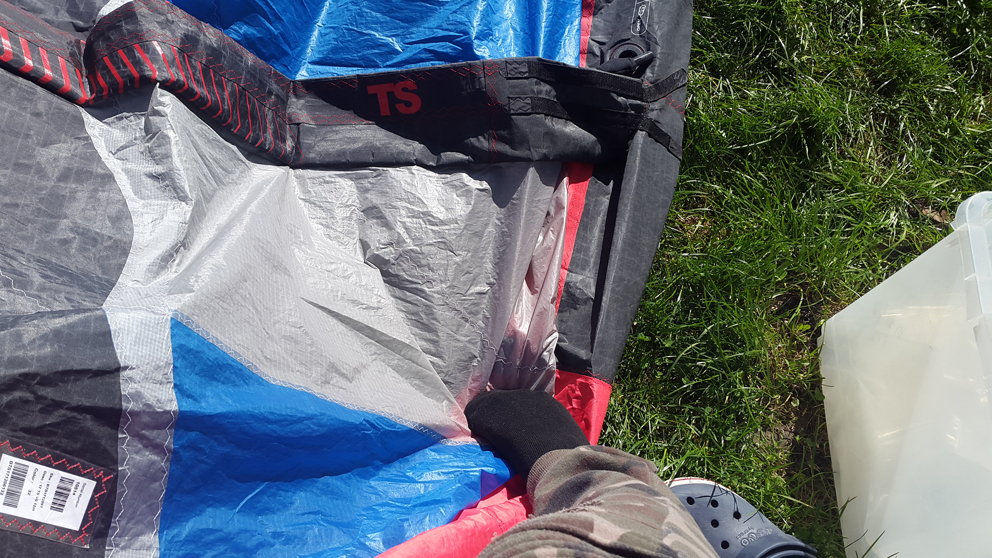
When installing the bladder, the kite should not move. Place your foot gently over the wingtip elbow and "flatten" the kite as much as possible. The other guy (or girl), who is putting the bladder into the kite, should secure the bladder too, by stepping on the egde of the tube for instance.

Bladder installation

The person who is pulling the bladder in should not loose the tension on the rope. At least some tension on the rope will ensure both easier installation and will help to prevent possible twists or rotations of the bladder during insertion. As mentioned, help with your foot at the LE wingtip elbow to secure the kite tube, but do not close the way (step on your fingers only if you must, but behind the tube, on canopy). Please note that you will need to apply a bit more pulling force, once the bladder will come to the elbow.

Bladder installation

We normally do not use any cardboard or other devices on the wingtip ends to avoid twisting, but you can try if you want (please note that even with a cardboard the bladder may twist in early stages of insertion!).

6. Remove caught material away from valve holes

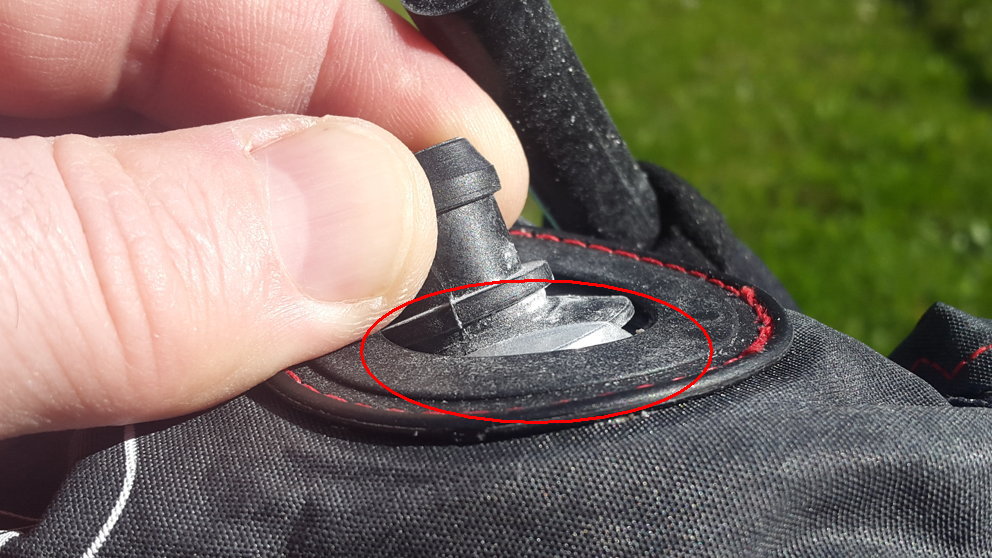
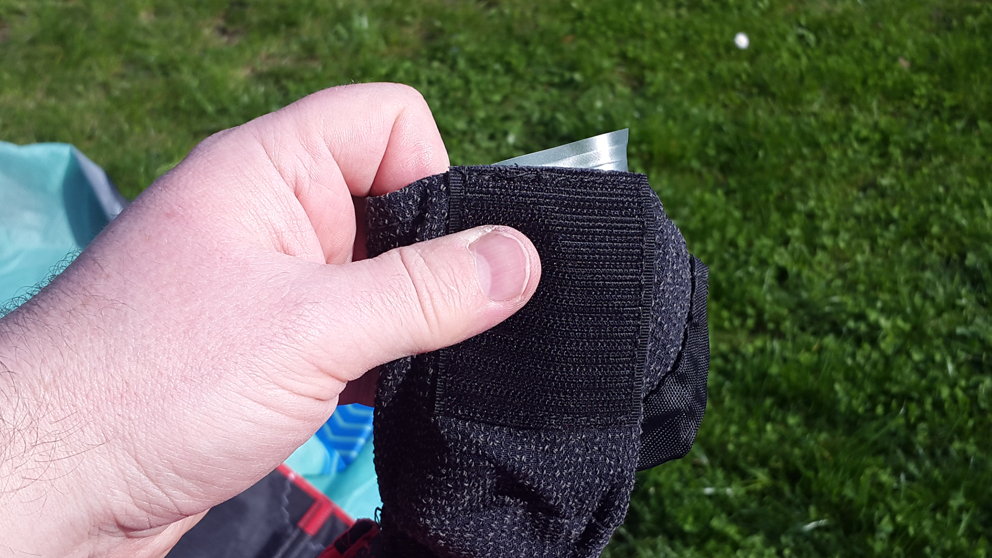
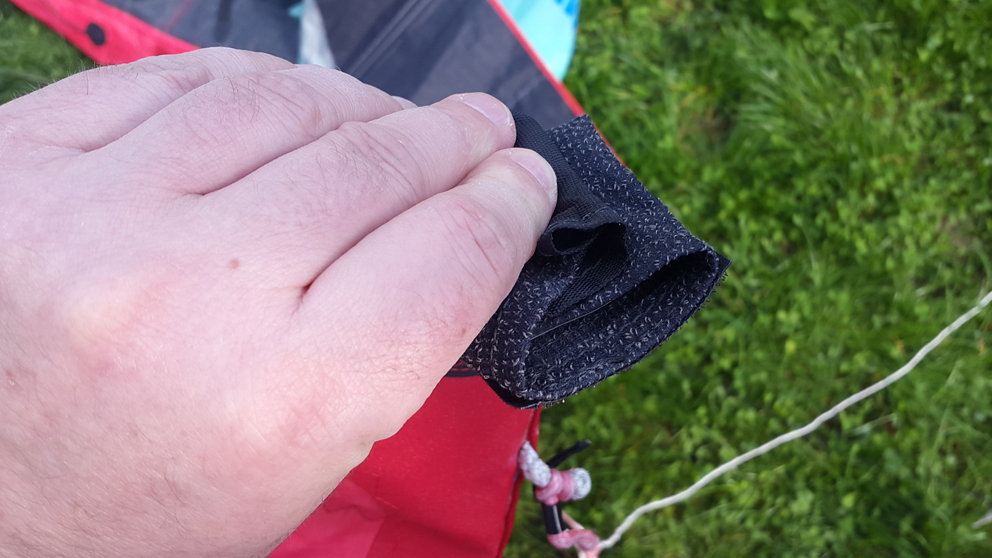
Material WILL catch between / under valve hole and valve base during installation. It is your job to remove it from there. The procces is easy, but will reqire some experience and patience. Hold the valve in one hand and try to push away the bladder material thru the hole if possible, and / or "pick" the bladder from below the kite, holding both the kite material and the bladder and pull gently away from the hole. Yes, weird, but you will get the feeling. ;) Pull the valve all the way thru the valve hole only when there is no bladder material catched below.

Caught bladder

7. Leave wingtip/strut ends opened

Before you start the inflation make sure that you closed main zipper on your kite's leading edge or strut zipper if you have it (Naish or old North kites).

During initial (1/3) inflation you have to leave wingtip / strut ends opened. When one person is inflating the kite, the other should tap on the kite / strut from centre of kite (or strut centre), to wingtips (or to both strut ends), so that internal badder pressure (you now should already have some air inside, right?) will help you to distribute the bladder inside the tubes.

Once the air starts to fill disclosed bladder ends you must stop pumping. If you will pump it more it may damage the bladder. Doing it in this way and off course folding back the excess bladder correctly will prevent bladder end blow-ups.

Opened ends

8. Pull on the valves

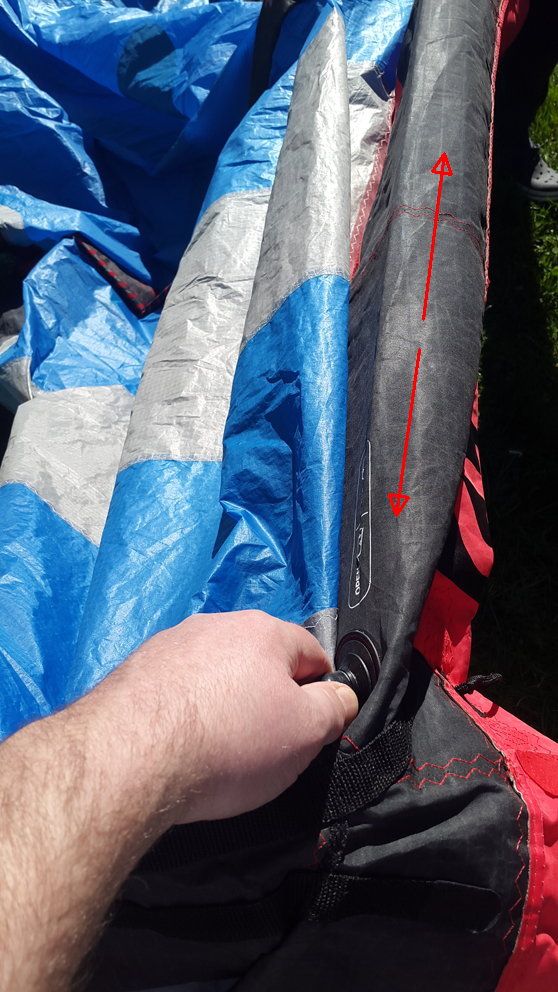
Gently pull on the valves (away from each other), segment by segment. This will help to remove bladder excess material around the valve too. Don't worry, our valve welds are super strong and by gently pulling you won't tear it off.

Pull

9. Twisted bladder?

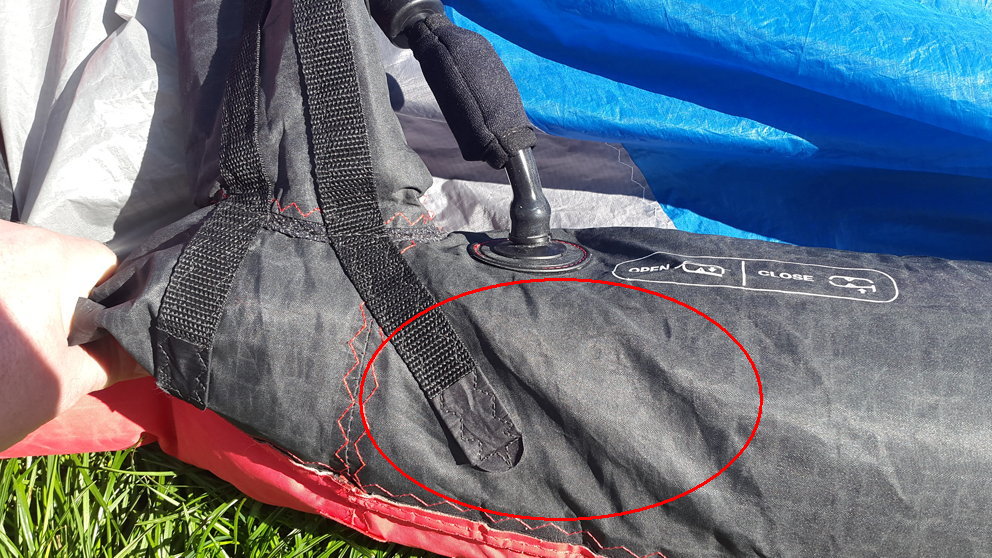
"I've got wrinkles around the valves, what should I do?"... we got many questions about these wrinkes. In most cases they will be noticable around outer valves, when internal bladder pressure is not big enough. If they are like on the picture here it usually means that it is *nothing* and bladder just isn't inflated enough to fill empty space.

Twisted bladder?

BUT When should I be more careful:

a) if wrinkles are still there when you increase bladder pressure or they are much more noticable

It may mean that you have excess bladder material under the valve base. Deflate kite and try to remove it again.

b) valve is pulling into the kite weirdly

This almost certanly means that the bladder is twisted. Internal pressure is pulling the valve into correct setup, but it may be locked. The best way is to remove bladder and repeat installation again.

c) some (center) part of kite is more inflated than the other part and / or does not inflate (as fast as it should)

This again most likely means that the bladder is twisted. You will have to remove bladder and repeat installation again.

d) there is a "bent in" part on the kite (not near the valve)

This again most likely means that the bladder is twisted. You will have to remove bladder and repeat installation again.

10. Push excess bladder end back into tube

Due to nature of how the bladders are sized (they should be always bigger / longer than tubes) you will always get more bladder out from the kite's ends. This means that you will need to push it back into the kite's tube, once you've done initial 1/3 pumping, tapping, valve positioning,... The most important thing is that you do not twist it while pushing it back into the kite. You should also not fold it lenghtwise if it's wider. Just push it back, it doesn't matter with our bladders as they are super stretchy and made from the best TPU you can find on the market.

Allign bladder

Once you have bladder aligned with tube's protection pocket, fold end pocket to ease closing the ends. What you can additionally do is to shake the ends in up/down direction so that the pushed back badder re-positions a bit in the wingtip elbow / near strut end.

Close ends

11. Be careful on strut nose

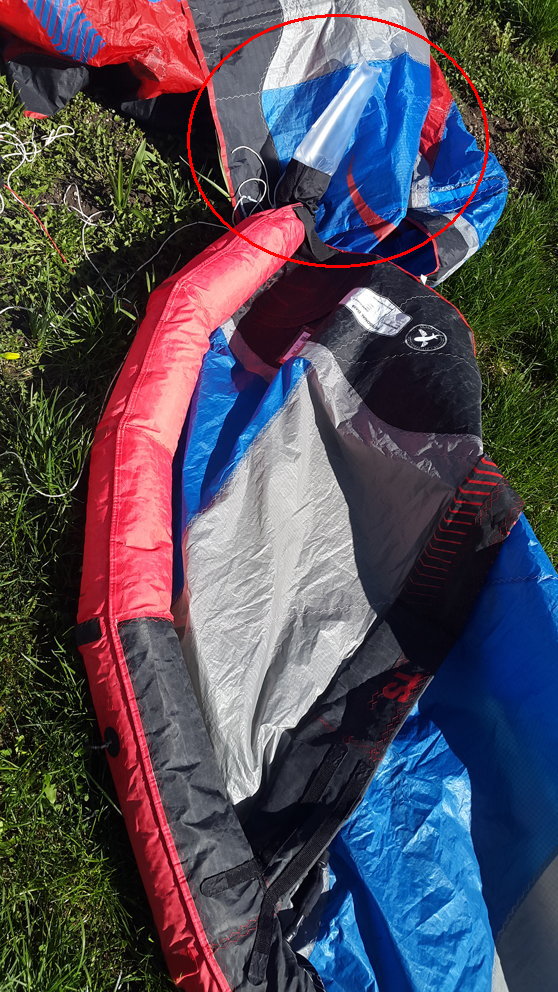
Make sure that bladder fills all the nose - to - LE joint, if you see the wrinkles / empty space like on this picture, it means that the bladder is not set perfectly. Repeat tappings on 1/3 inflated strut again and again and repeat - check.

Be sure to check the top part of the nose, the one that is closest to the canopy (and hidden well when you're pumping the kite), as there is vulnerable spot!

Strut nose

12. Steps we take prior full inflation?

Here's a sum up how we are doing it:

- after installation we inflate strut / LE to about 1/3 or just enough to observe the issues, until exposed bladder gets some air. We're tapping some more on the bladder (we do all the bladders one at the time), pulling the valves, so all the basic stuff you can do.


- then we deflate it, pull excess bladder back as described, and close the ends.


- we gradually inflate the bladder again to say around 1/2, also tapping on it and observe if there is any issue left.


- if everything looks OK then we inflate to 3/4. By now most of "problematic" thing should dissapear an you already should see nicely inflated kite. If not -> deflate and repeat previous steps.

Please note that some of the kite brands do bladders very tightly (North for instance), so you may observe some weirdly looking positions in most cases around the outer one pump valves, because of hard protections added around the valve hole. That protection will raise the kite's tube fabrics upwards a bit, until the bladder pressure rises. This is not a problem (unless you do have some other issue mentioned previously around the valves like catched material). Some brands are keeping the same blueprints thru many years too.


- only then we pump the kite to working pressure and if the kite is here for repair we leave it overnight in QC test.

13. Dammit, I've blown the bladder!!

Like mentioned in disclaimer, we can not eliminate all the installation troubles you may have with any of the manuals or tips & tricks. But even then we are here to help you out:

1. Please read warranty label well and if you still feel that you should get your bladder replaced, please fill in warranty form found here:

https://drtuba.eu/support/warranty-claim

or send the claim to our email address found on the packaging label.

What informations we will require from you:

- order number
- copy of the QC passed label date from the bladder (on LE it is found in the centre, on strut it is found in the nose)
- description of the problem
- photos of the problem (well detailed so that the problem is well visible)

2. Our team will help you out as fast as possible and if it's manufactoring fault you will receive new bladder asap free of any charge.

3. Twists, bladder catches, blow-outs, any other installation errors are always noticable by our team, it means warranty void and will NOT be covered under warranty terms. Here we suggest that you are fair to us and we will help you out to get a replacement one cheaper than usual. We are always fair to our customers, so we expect the same, and fair relationship always finds a good way to solve the issue.

4. Our bladders does not come from China, we custom make them for you, and are extremely stretchy and may survive even big blowouts. This also means that even if you have bladder twisted somewhere or catched under the valve hole it still may not blow immediately, or may even not at all. BUT it may blow sometime later, once the kite's structure twists in a "wrong" way. Again, this is clearly visible on the bladder by our team and the warranty does not cover it.

5. We may alter the bladder shape a bit to suit our process of making, ensuring 100% performance. Please note that the kite tubes (outer skin) defines the shape, not the bladder, so the sturts may be straight at the nose, not curved.

6. There is no additional protections on our bladders, they are not needed. Loose ends only adds to possible additional issues upon installng the bladders, while not "protecting" anything.

7. All bladders are made by the original blueprints we got from the brands and they can be different in size compared to the ones installed into your kite. We have no influence here, but we try to correct the blueprints whenever it is possible. This is not a base for claim.

8. Full Terms & Conditions are found here: https://drtuba.eu/content/terms-conditions

9. We updated our warranty conditions for bladders, which are valid for all products made from 15th May 2023 on. You can access warranty conditions here: https://drtuba.eu/content/industry-leading-warranty

Shopping Cart

Back to shop

Cart is empty.


You can try some popular tags here:

Account

No account?
Create an Account

Account

No account?
Create an Account