
How To Mount Hoses And Collets On One Pump Valves
Many riders struggle when mounting hoses to one pump valves. Check this video to how to do it right!
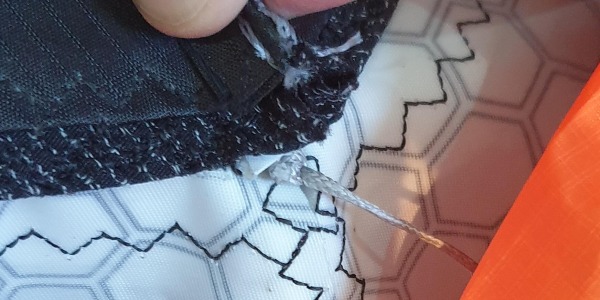
Check The Locking Line On Your Wing Strut Bladder
Strut nose damage on wings often starts from one small detail, the locking line on the strut bladder nose. A short check before every session protects the bladder and reduces repair risk.
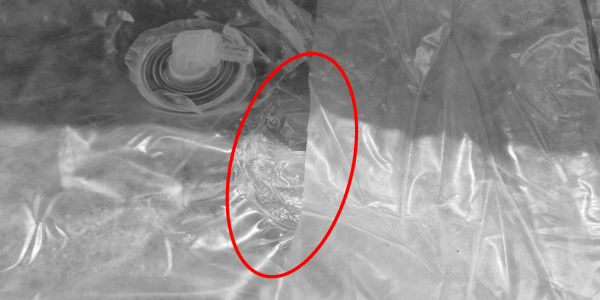
Why we don’t use reinforcement layers at the ends of our bladders?
Our TPU bladders need no extra layers when installed correctly for lasting performance.

Tips & Tricks on installing kite bladders
...or how to avoid most common installation issues.
Bladder Installation Manual
This video manual will show you how to re-install your kite's bladders.
CORE Speed Valve 2 Replacement Video
How to video of CORE Speed Valve 2 replacement.