- Dr.Tuba
- Tips & Tricks
- 0 likes
- 702 views
All Dr.Tuba bladders are made from premium German TPU material that offers higher elasticity, strength, and puncture resistance than most factory-supplied bladders. Because of these improved material properties, there is no need for an additional reinforcement layer at the nose or tail of the strut.
Reinforcement layers do not prevent failures
It is a common belief that adding an extra layer of TPU at the end of the strut protects against bursting. In practice, this is not true. When a bladder is twisted, folded, or unevenly inflated, the internal air pressure cannot distribute evenly. The stress simply moves to the next weak point, for instance just after the reinforced zone, and the bladder fails there instead.
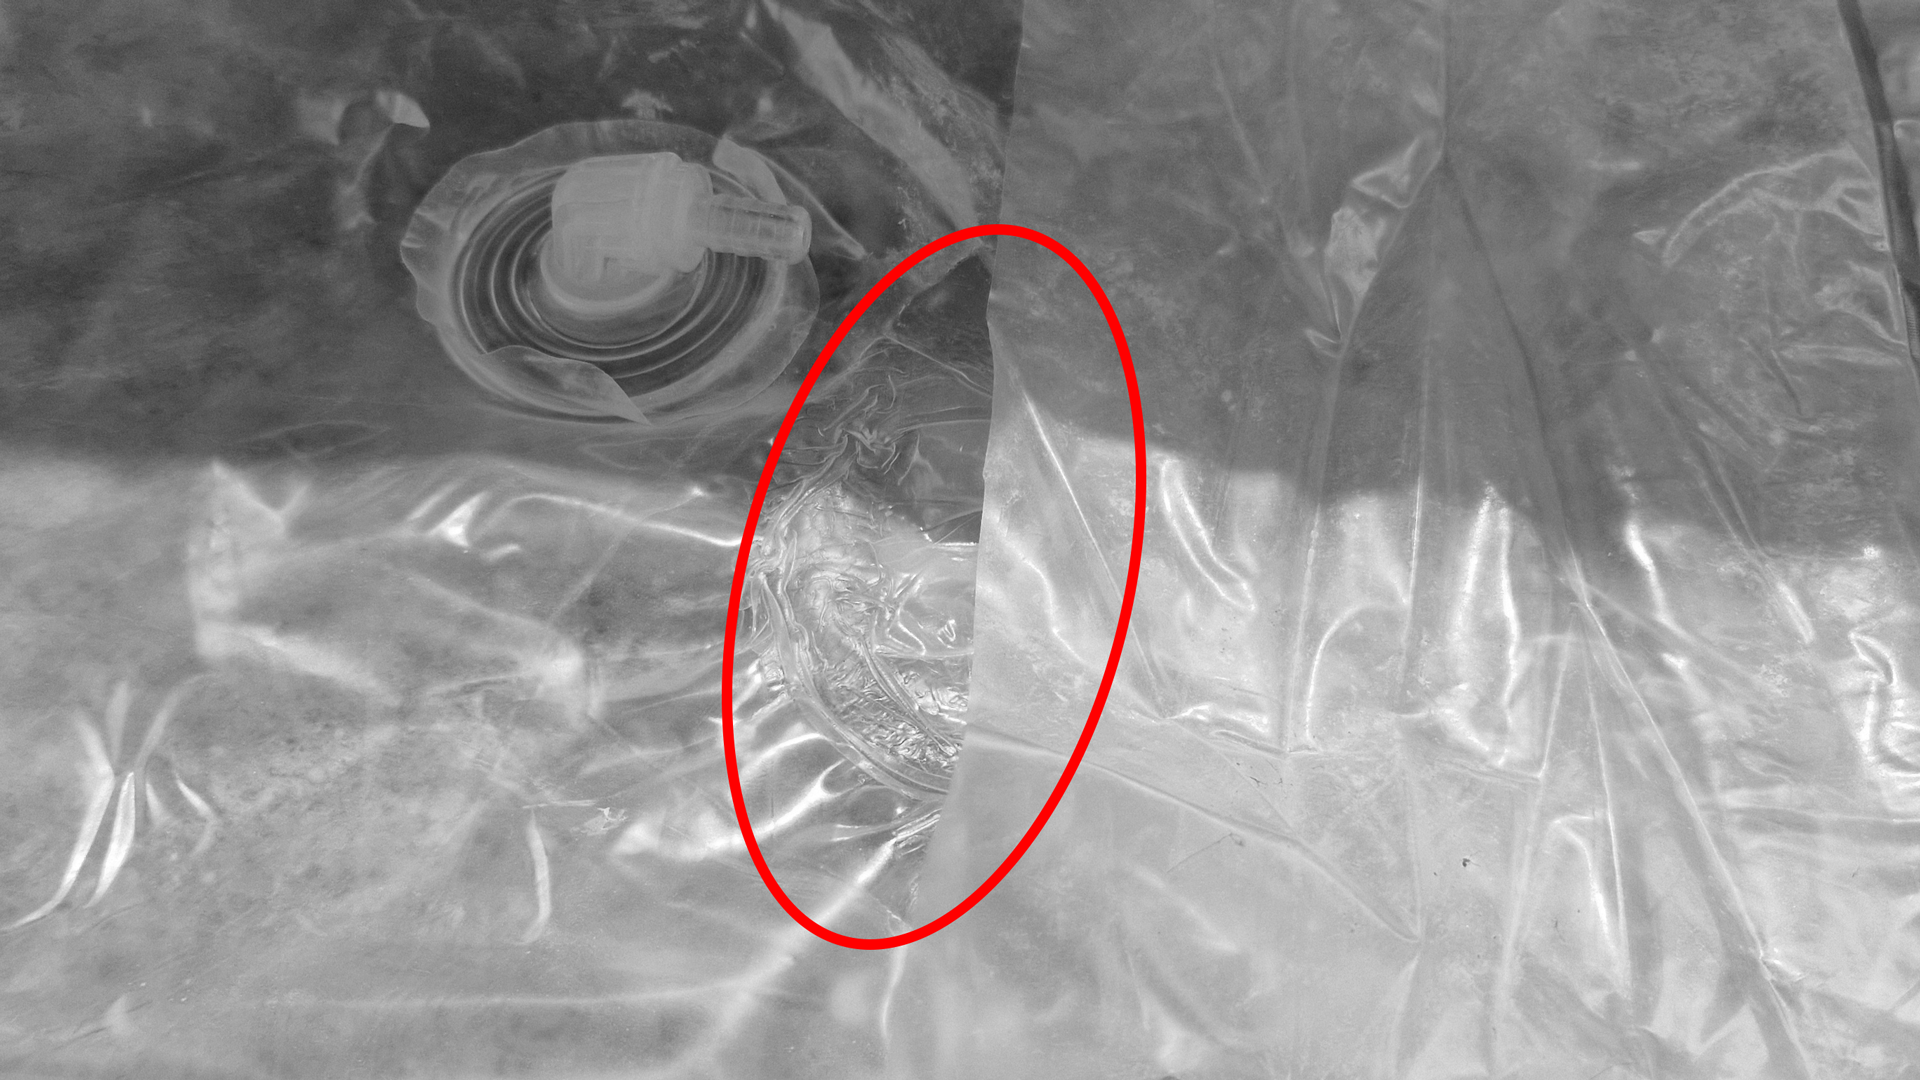
The real cause of most failures
In most cases (>95%!), strut or leading edge failures occur because of installation issues, such as:
-
a trapped or twisted section inside the pocket
-
a valve area not fully seated in its position or material caught there
-
partial inflation that creates localized over-pressure
-
incorrect alignment of the bladder end
Such errors can happen to anyone, even experienced technicians, since every kite or wing model has slightly different pocket geometry and nose shape. Issues can happen even at low pressures andor even may not be instantly visible and can lead to problems later, when your gear bends in "wrong"way.
More problematic in terms of post-installation by our opinion are wings, especially in the strut nose area, where the large diameter and trapped moisture can cause the bladder to stick to the inner wall. This can eventually lead to nose pop-ups during inflation. These issues are more common on older wing models where the bladder was not secured with nose lines. We have also observed similar, though less frequent, effects on larger diametre leading edges, usually at the elbow part.
Our tested design
We have tested and refined our bladder patterns for many years. Every bladder is pressure-tested overnight before shipping to ensure it is 100 % airtight. Removing unnecessary double-layer ends allows better flexibility, lower weight, and easier positioning inside the pocket.
Professional tip
Always make sure the bladder is laid out flat and correctly positioned before inflation. Inflate slowly, work bladder by bladder and check that air inflates structure evenly.
For many useful tips & tricks, read our guide here:
https://drtuba.eu/tips-tricks/tips-tricks-on-installing-kite-bladders
Optional extra protection
For customers who want additional peace of mind, we also offer Bladder Protection Insurance during checkout. It covers accidental damage during installation, even under professional handling conditions.